

How to Clean Solar Panels
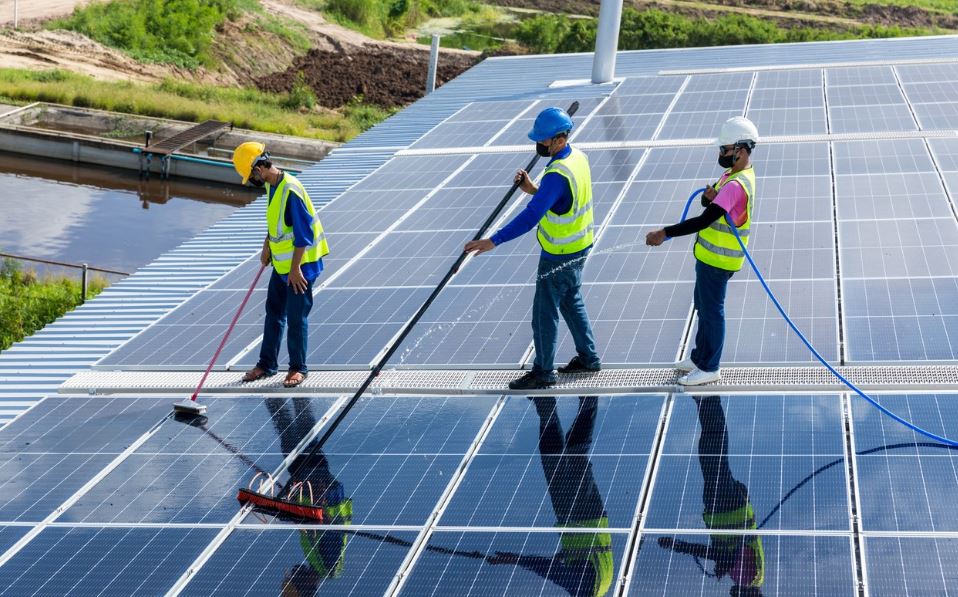
Dirty solar panels can lose up to 20% of their efficiency. Dust, bird droppings, and pollen block sunlight and reduce energy output. The good news is cleaning them is simple, safe, and does not take much time. With the right method, you can boost performance and extend panel life. If you’re wondering How to Clean Solar Panels, the answer is simple: use soft tools, gentle water, and avoid harsh methods. This guide will show you exactly how to do it step by step. Why Cleaning Solar Panels Is Important Solar panels work by absorbing sunlight. When dirt builds up, less light reaches the cells. This directly lowers energy production. Regular solar panel cleaning helps you: Increase energy output Lower electricity bills Protect long-term performance Prevent damage from buildup Real example: A homeowner in a dusty area saw a 15% energy drop. After cleaning solar panels, output returned to normal within a day. Clean panels are not just about looks. They are about performance and savings. How Often Should You Clean Solar Panels? There is no one-size answer. It depends on your location and environment. In general, you should clean your solar panels every 6 to 12 months. You may need to clean them more often if you live in a dusty or dry area, have many trees nearby, notice birds frequently sitting on your roof, or experience very little rainfall. While rain can help rinse off loose dust, it does not remove sticky dirt or bird droppings effectively. Signs Your Solar Panels Need Cleaning Not sure when to clean? Look for these signs: Visible dust, stains, or bird droppings A sudden drop in energy output Uneven panel appearance Debris like leaves stuck on panels If you notice these issues, it may be time for professional solar panel cleaning tracy ca services from VJ Pressure Washing for a deeper and safer clean. Tools and Materials You’ll Need Before you start cleaning solar pv panels, gather these tools: Soft brush or sponge Garden hose with low pressure Bucket with mild soap Microfiber cloth or squeegee Safety gear (gloves, non-slip shoes) Avoid using anything rough. Panels have a protective glass layer that can scratch easily. Step-by-Step Guide: How to Clean Solar Panels 1. Turn Off the System Safety comes first. Always shut down your solar system before you begin. This reduces the risk of electrical issues and keeps you safe while working around the panels. Check your system manual if you are unsure how to turn it off properly. 2. Clean Early or Late in the Day Solar panels heat up quickly under direct sunlight. Cleaning them when they are hot can cause water to evaporate too fast and leave streaks. It can also lead to small cracks due to sudden temperature changes. Choose early morning or evening when the panels are cool. 3. Remove Loose Dirt Start by rinsing the panels with a garden hose using low pressure. This step helps remove dust, leaves, and loose debris sitting on the surface. It prepares the panels for deeper cleaning solar panels without scratching them. 4. Gently Wash the Surface Use a soft sponge or cloth with a bucket of mild soapy water. Gently wipe the surface in smooth motions. Do not apply too much pressure, as this can damage the protective layer. This is the most important step in cleaning solar panel cleaning safely and effectively. 5. Rinse Thoroughly After washing, rinse the panels again with clean water. Make sure all soap is removed. Any leftover residue can leave streaks or reduce how much sunlight the panels absorb. 6. Let Panels Dry Allow the panels to air dry naturally. You can also use a squeegee or microfiber cloth to remove excess water and prevent spots. This final step keeps your panels clear and improves overall results. That’s the simple process for How to Clean Solar Panels without causing damage. What to Avoid When Cleaning Solar Panels Many people damage panels by using the wrong methods. Avoid: Pressure washers Harsh chemicals Abrasive brushes Walking on panels Cleaning during peak heat These mistakes can scratch or crack the surface. DIY vs Professional Solar Panel Cleaning DIY Cleaning DIY cleaning is best for single-story homes where panels are easy to reach. It is a low-cost option and simple to do if you have the right tools. However, it comes with safety risks, especially if you are working on a roof. It can also be hard to clean areas that are out of reach. Professional Cleaning Professional cleaning is a better choice for large systems or panels in hard-to-reach places. Experts provide a safe and thorough service using proper tools and methods, saving you time and effort. The main drawback is the higher cost compared to doing it yourself. At VJ Pressure Washing, professionals use purified water systems and safe techniques for solar panel cleaning, ensuring your panels stay efficient and undamaged while maximizing energy output. Safety Tips for Cleaning Solar Panels Safety should never be ignored. Use a stable ladder Wear non-slip shoes Avoid wet or windy conditions Never clean panels alone Turn off electricity before starting If your roof is steep, do not risk it. Hire experts instead. Maintenance Tips to Keep Panels Clean Longer You can reduce how often you need to clean your solar panels by following a few simple tips. Trim nearby trees to prevent leaves and debris from accumulating. Install bird deterrents to avoid droppings that block sunlight. Check your panels every few months to spot dirt or damage early. Keep gutters clean so water flows freely and doesn’t cause buildup around your panels. Monitor energy output regularly to detect efficiency drops that may indicate cleaning is needed. These small steps can make a big difference in maintaining peak performance. Common Mistakes to Avoid Even simple jobs can go wrong. Avoid these mistakes: Using hard water that leaves spots Ignoring safety steps Cleaning too often without need Skipping inspections Using rough tools Proper cleaning solar pv panels means being gentle
How to Install Gutter Guards

Clogged gutters cause water damage, roof leaks, and costly repairs. Gutter guards stop leaves and debris from blocking water flow. With the right tools and steps, most homeowners can handle this task and protect their home for years. If you want a simple and proven method, this guide on How to Install Gutter Guards walks you through each step in plain terms so you can do it right the first time. Gutter guards are covers that sit on top of your gutters. They block debris but let water pass through. This keeps your gutter system clean and working well. They reduce the need for frequent cleaning. They also help prevent pests, rust, and overflow issues. Many homeowners choose gutter guard installation to save time and protect their property. Types of Gutter Guards 1. Mesh Gutter Guards Mesh gutter guards use a fine metal or plastic layer that blocks even the smallest debris. They are a strong choice for homes surrounded by trees or areas with heavy leaf fall. These guards are known for their durability and long life. When installed properly, they offer one of the most effective solutions for keeping gutters clear. 2. Screen Gutter Guards Screen gutter guards have larger openings compared to mesh systems. They are simple to install and are often chosen by homeowners looking for a budget-friendly option. While they do a decent job at blocking larger debris, smaller particles can still get through, which means you may need to clean your gutters more often. 3. Reverse Curve Guards Reverse curve guards work by directing water over a curved surface and into the gutter while pushing leaves and debris off the edge. This design performs well during heavy rain and can handle strong water flow. However, they must be installed at the correct angle to function properly, which makes careful setup very important. 4. Foam Gutter Guards Foam gutter guards sit inside the gutter and allow water to pass through while blocking debris on top. They are quick and easy to install, making them a popular DIY option. Over time, though, dirt and small particles can build up inside the foam, which may reduce their effectiveness and require cleaning or replacement. 5. Brush Gutter Guards Brush gutter guards look like large pipe cleaners placed inside the gutter. They catch leaves and debris while letting water flow through. These are one of the easiest options for DIY installation. However, they need regular maintenance since debris can get stuck in the bristles and build up over time. Tools and Materials Needed Before you start, gather these items: Sturdy ladder Work gloves Measuring tape Drill or screwdriver Gutter guards (your chosen type) Screws or clips Garden hose Having everything ready saves time and avoids mistakes. Preparation Before Installation Clean Your Gutters Start by removing all leaves, dirt, and debris from your gutters. You can use a scoop, gloves, or even a small garden tool. Once cleared, rinse the gutters with water to wash away fine particles. A clean surface helps the guards sit properly and improves overall performance. This step is essential before installing gutter guards to avoid trapping debris underneath. Inspect for Damage Take a close look at your gutter system. Check for cracks, rust spots, holes, or sections that are pulling away from the roof. Even small damage can lead to leaks later. Repair or replace any weak areas before moving forward. A strong and stable gutter system is the base of a successful gutter guard installation. Check Water Flow Use a garden hose to run water through the gutters. Watch how it flows toward the downspouts. If water pools in certain spots or drains slowly, there may be a slope issue or blockage. Fix these problems now so your system works efficiently after you install gutter guards. Secure Loose Parts Inspect all brackets, hangers, and fasteners along the gutter. Tighten any loose screws and make sure each section is firmly attached to the fascia board. Loose gutters can shift over time, which affects how well the guards perform. A secure setup ensures long-term results and a smoother installation process. Good prep work is key to successful gutter cover installation. Step-by-Step Guide: How to Install Gutter Guards Step 1: Measure Your Gutters Start by measuring the full length of your gutter system. Use a measuring tape and note each section, including corners and downspout areas. Accurate measurements help you avoid waste and ensure a tight fit. If your gutters have different sections or angles, measure each part separately. This step is very important when installing gutter guards, as even small errors can lead to gaps where debris can enter. Step 2: Cut the Guards Once you have your measurements, cut the gutter guards to match each section. Use tin snips or a suitable cutting tool based on the material. Make clean, straight cuts to avoid sharp edges or uneven ends. When working around corners or joints, cut carefully so the pieces fit snugly together. A proper cut makes the entire gutter guard installation look neat and work better over time. Step 3: Position the Guards Now place the guards onto the gutters. Depending on the type, they may sit on top, snap into place, or slide inside the gutter. Make sure each section lies flat and lines up with the gutter edge. Check that there are no bends or raised areas. Poor positioning can block water flow or allow debris to slip through. Take your time here, as correct placement is key when you install gutter guards. Step 4: Secure the Guards After positioning, secure each guard using screws, clips, or built-in locking systems. Follow the instructions provided with your product. Space the fasteners evenly to keep the guards stable. Do not overtighten screws, as this can damage the material. At the same time, avoid leaving them loose. A secure fit prevents guards from shifting during strong winds or heavy rain. Step 5: Check Shingle Placement Some gutter covers are designed to slide under the
