Solar panels save money and cut power bills. A proper guard system protects them from birds, debris, and damage. If you install both the panels and the guard the right way, your system lasts longer and works better.
- Understanding Solar Panel Systems
- Assessing Your Home for Solar Installation
- 1. Roof Condition
- 2. Sunlight Exposure
- 3. Roof Direction
- 4. Space Availability
- 5. Solar Panel Guard Installation Planning
- Calculating Your Energy Needs
- Planning and Permits
- Choosing the Right Equipment
- Solar Panels
- Inverter Types
- Guard Materials
- Tools and Materials Required
- Step-by-Step Installation Process
- Step 1: Install Mounting Structure
- Step 2: Place Solar Panels
- Step 3: Connect Wiring
- Step 4: Install Inverter
- Step 5: Install Solar Panel Guard
- Step 6: Connect to Main Power
- Step 7: Test the System
- Safety Tips
- Check Tenderness and Doneness (System Performance Check)
- Maintenance and Cleaning Tips
- Cost and Return on Investment
- Average Costs
- Savings
- Common Mistakes to Avoid
- Benefits of Installing Solar Panels Guard
- Conclusion
- FAQs
This guide explains how to install solar panels Guard step by step. You will learn planning, tools, safety, and real tips used by professionals.
Understanding Solar Panel Systems
Before installing solar panels, you need to know the basics. A solar setup is simple once you break it down.
A standard system includes:
- Solar panels (capture sunlight)
- Inverter (turns DC into usable power)
- Mounting system (holds panels in place)
- Wiring (connects all parts)
- Battery (optional for storage)
When you install solar energy, all these parts must work together. A guard system is added around the edges. It blocks birds, leaves, and dust from getting under panels.
Assessing Your Home for Solar Installation
Start with a full home check. This step decides how smooth your solar energy system installation will be.
Check these key factors:
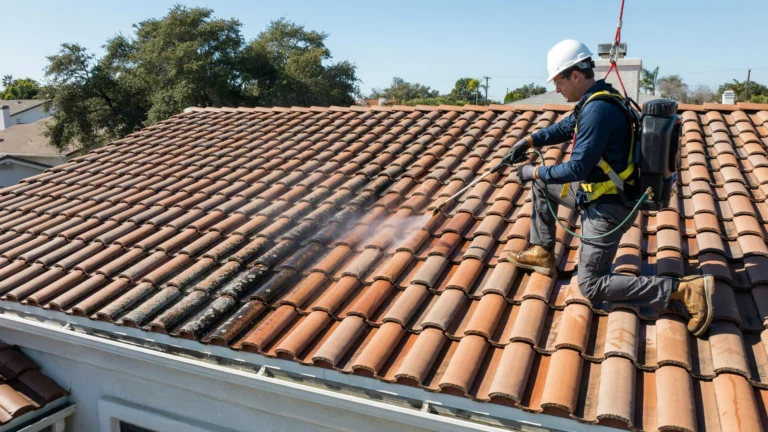
1. Roof Condition
Your roof must be strong and in good shape before you start installing solar panels. Check for cracks, leaks, or weak spots. If your roof is old, it is better to repair or replace it first. A solid roof will support the weight of the panels and prevent future damage or costly fixes.
2. Sunlight Exposure
Solar panels need direct sunlight for most of the day to work well. Look at your roof during different times of the day and check for shadows from trees, buildings, or poles. Even small shaded areas can reduce energy output, so try to choose the most open and sunny spot.
3. Roof Direction
The direction your roof faces plays a big role in energy production. South-facing roofs usually get the most sunlight and give the best results. East- and west-facing roofs can still work, but they may produce slightly less energy. Proper angle and tilt can also improve performance.
4. Space Availability
Make sure your roof has enough open space for the number of panels you need. You also need extra room for mounting structures and guard rails. Avoid placing panels too close together, as proper spacing helps with airflow and makes maintenance easier later.
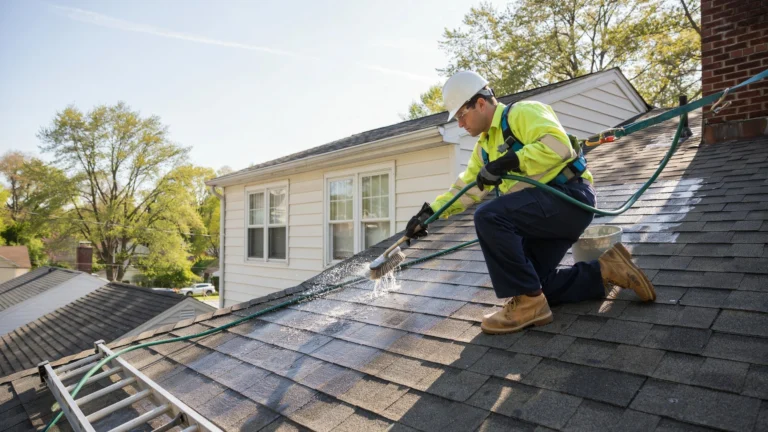
5. Solar Panel Guard Installation Planning
This is where you plan your Solar Panel Guard Installation. It ensures no gaps are left under panels. Companies like VJ Pressure Washing often suggest proper spacing and guard mesh to prevent nesting.
Calculating Your Energy Needs
Before installing solar panel system, know how much power you use.
Follow these steps:
- Check your monthly electricity bill
- Find your average daily usage
- Decide how much you want solar to cover
Example:
If your home uses 900 kWh per month, you need a medium-sized system. This step helps you avoid overspending or underbuilding your system.
Planning and Permits
Every area has rules for install solar energy projects.
You may need:
- Building permits
- Electrical approvals
- Utility company permission
Check local laws before starting. Skipping permits can cause fines or delays.
You can also decide here:
- DIY installation
- Hiring professionals
DIY can save money, but professional help ensures safety and better results.
Choosing the Right Equipment
Your system quality depends on your equipment choices.
Solar Panels
Monocrystalline panels offer high efficiency and take up less space, making them a good choice for smaller roofs. Polycrystalline panels are more budget-friendly and still provide reliable performance, though they may need a bit more space to produce the same energy.
Inverter Types
A string inverter is a common and cost-effective option that connects multiple panels in one system. A microinverter is installed on each panel, which helps improve performance and makes it easier to monitor individual panel output.
Guard Materials
Galvanized steel mesh is strong, durable, and resists rust, making it ideal for long-term use. PVC-coated wire adds an extra layer of protection against weather and corrosion while also giving a cleaner finish around your panels.
Choose strong and rust-resistant guard material. It should last as long as your panels.
Tools and Materials Required
Before you start installing solar panels, gather all tools.
You will need:
- Drill machine
- Mounting brackets
- Bolts and screws
- Safety gloves
- Ladder
- Measuring tape
- Wire cutters
- Solar guard mesh
Having everything ready saves time and avoids mistakes.
Step-by-Step Installation Process
Now let’s go through how to install solar panels Guard in simple steps.
Step 1: Install Mounting Structure
Fix the mounting brackets firmly on your roof. These brackets will hold the full weight of the panels, so placement matters. Make sure they are aligned properly, level, and tightly secured to avoid movement during strong wind or rain.
Step 2: Place Solar Panels
Carefully lift and place the solar panels onto the mounting structure. Handle them with care to avoid damage. Once positioned, secure each panel using bolts and clamps so they stay stable and do not shift over time.
Step 3: Connect Wiring
Now connect the panels using electrical wiring. You can join them in series or parallel depending on your system design. After that, run the wires safely toward the inverter, keeping them organized and protected from damage.
Step 4: Install Inverter
Mount the inverter close to your main electrical panel. This device converts solar energy into usable electricity for your home. Connect the DC wires from the panels to the inverter carefully, following proper safety guidelines.
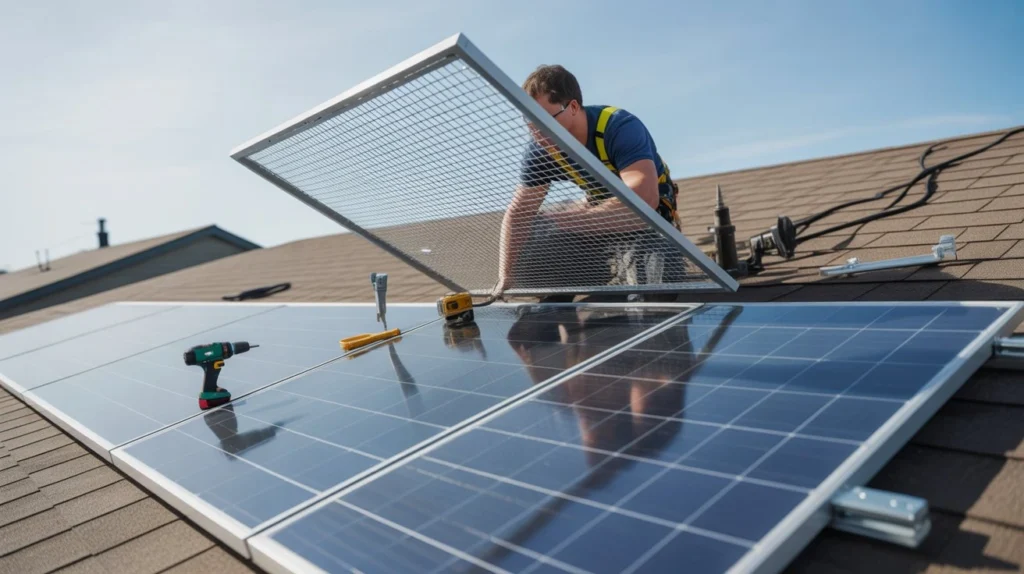
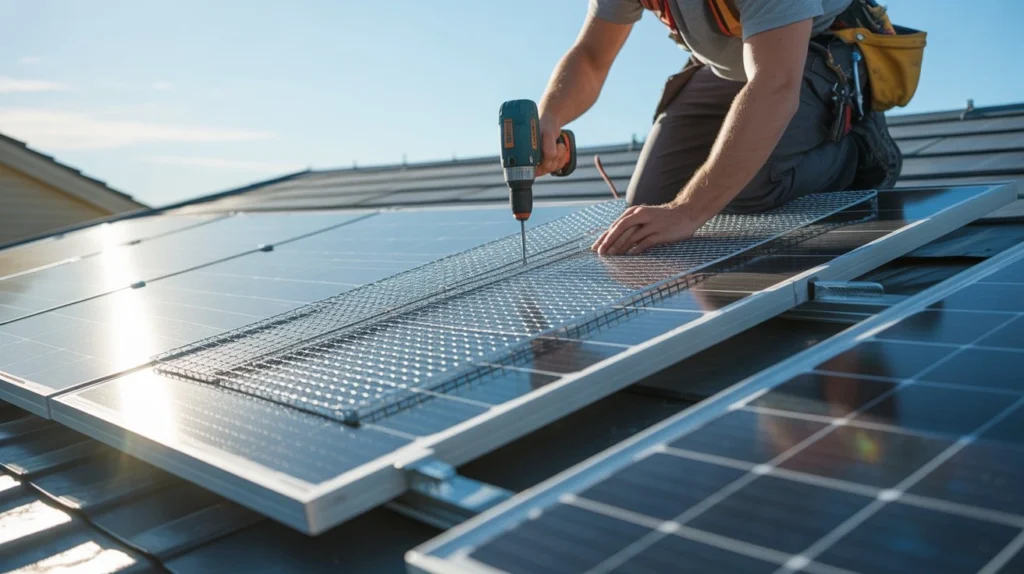
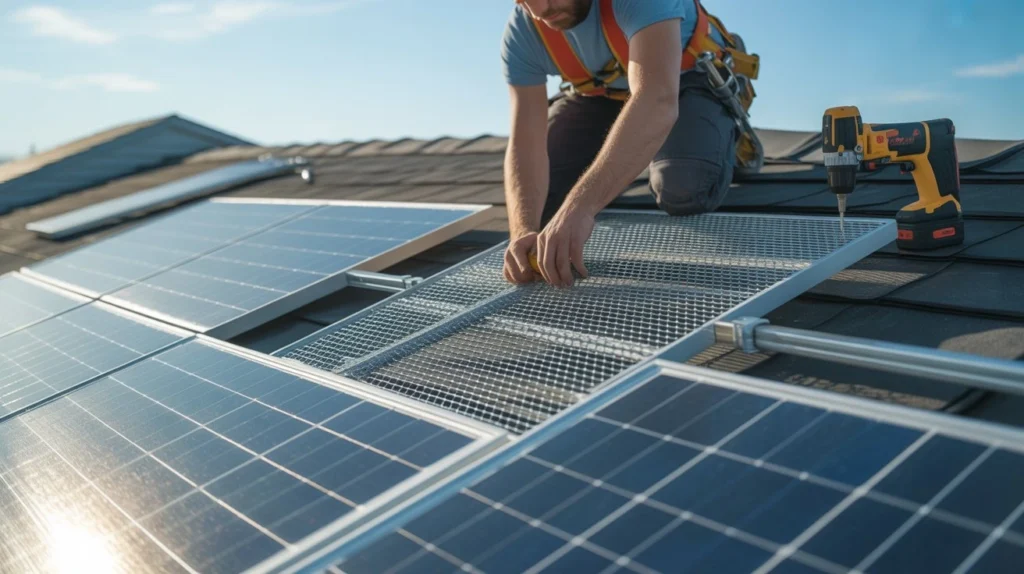
Step 5: Install Solar Panel Guard
This step is often skipped, but it is very important for long-term protection.
- Attach a strong mesh around the edges of the panels
- Use clips or fasteners to secure it properly
- Make sure there are no open gaps where birds or debris can enter
- Keep enough space for airflow to prevent overheating
This step completes the core part of how to install solar panels Guard properly and helps protect your system from damage.
Step 6: Connect to Main Power
Link the inverter to your home’s electrical system. This allows solar energy to power your home. If required, install a net meter to track energy usage and any extra power sent back to the grid.
Step 7: Test the System
Turn on the system and check if everything is working correctly. Monitor the energy output and inspect all connections. Make sure there are no loose wires or errors before regular use.
Safety Tips
Safety should always come first.
Follow these rules:
- Turn off power before wiring
- Use safety gear like gloves and harness
- Avoid working in rain or strong wind
- Never step directly on panels
If unsure, hire a professional. Electrical mistakes can be dangerous.
Check Tenderness and Doneness (System Performance Check)
After installing the solar panel system, check if everything works properly.
Look for:
- Stable energy output
- No loose wires
- No unusual noise from inverter
- Clean and secure guard mesh
Think of it like checking if food is cooked right. Your system should run smoothly without issues.
Maintenance and Cleaning Tips
A good system needs simple care.
- Clean panels every few months
- Remove dust and bird droppings
- Inspect guard mesh regularly
- Check wiring once a year
Clean panels can improve output by up to 20%.
Cost and Return on Investment
The cost of solar energy system installation depends on size and quality.
Average Costs
A small solar system usually costs between $3,000 and $6,000. A medium-sized system ranges from $6,000 to $12,000, while a large system can cost $12,000 or more depending on size and quality.
Savings
Solar panels help reduce your electricity bills over time. Most homeowners see a return on investment within 5 to 8 years. In addition, installing a solar system can increase your property value and make your home more attractive to buyers.
Adding a guard system also saves repair costs.
Common Mistakes to Avoid
Avoid these common errors when learning how to install solar panels Guard:
- Installing on weak roofs
- Ignoring shading issues
- Poor wiring connections
- Skipping guard installation
- Using low-quality materials
These mistakes reduce system life and performance.
Benefits of Installing Solar Panels Guard
A guard system adds real value.
- Stops birds from nesting
- Prevents wire damage
- Reduces cleaning effort
- Extends panel life
Many homeowners skip this step and face problems later. VJ Pressure Washing always recommends installing a proper guard system to protect your panels and avoid costly repairs in the future.
Conclusion
Learning how to install solar panels Guard is not hard if you follow the right steps. Start with planning, choose quality materials, and install carefully. A good system gives clean energy and long-term savings.
Take your time, focus on safety, and do not ignore the guard system. It protects your investment and keeps your solar setup running at its best. For expert help or guidance, contact us at VJ Pressure Washing today.
FAQs
Can I install solar panels myself?
Yes, you can install them yourself if you have basic electrical knowledge and understand safety rules. However, if you are unsure about wiring or roof work, it is safer to hire a professional to avoid mistakes or injury.
Why is a solar panel guard important?
A solar panel guard protects your system from birds, leaves, and debris. It stops nesting under panels and prevents damage to wiring, which helps your system last longer and work efficiently.
How long does installation take?
For a standard home system, installation usually takes 1 to 3 days. The time may increase if the roof needs repairs or if permits take longer to approve.
Do solar panels work in cloudy weather?
Yes, solar panels still generate electricity on cloudy days. They work at lower efficiency, but they continue to produce power as long as there is daylight.
How often should I clean solar panels?
You should clean your solar panels every 3 to 6 months. In dusty areas, more frequent cleaning may be needed to maintain good performance.