A worn-out driveway makes your whole home look neglected. Cracks, stains, faded color, and years of grime add up fast. The good news? You don’t always need to replace it. Most driveways can be fully restored without a major budget.
- What Causes a Driveway to Look Old?
- Start with a Thorough Driveway Inspection
- Clean the Driveway Properly
- How to Remove Common Driveway Stains
- Repair Cracks and Surface Damage
- Reseal the Driveway for a Fresh Look
- Restore Color and Appearance
- Improve Driveway Curb Appeal
- DIY Driveway Restoration vs Professional Cleaning
- How to Keep Your Driveway Looking New Longer
- Mistakes to Avoid When Restoring a Driveway
- Conclusion
- FAQs
How do I make my driveway look new again? Start with a deep clean, fix any cracks, then reseal the surface. That three-step process handles 90% of driveway aging. This guide walks you through every step in plain detail so you can get it done right.
What Causes a Driveway to Look Old?
Before you fix anything, it helps to understand why driveways age.
Sun exposure breaks down asphalt binders and fades concrete color. UV rays cause oxidation over time, turning black asphalt gray and giving concrete a chalky look.
Water damage is the biggest culprit. Water seeps into tiny surface cracks, freezes in winter, and expands. That expansion widens cracks and creates potholes.
Oil and chemical spills soak into porous concrete and asphalt. They leave dark stains and weaken the surface over time.
Heavy vehicle traffic compresses and stresses the surface. Combine that with age and weather, and surface crumbling starts.
Lack of sealing speeds everything up. An unsealed driveway soaks up damage like a sponge.
Knowing the cause helps you pick the right fix.
Start with a Thorough Driveway Inspection
Don’t skip this step. A quick inspection tells you exactly what you’re dealing with before you spend money on materials.
Walk your entire driveway and look for:
- Hairline cracks — thin surface cracks that haven’t spread yet
- Wide cracks — anything wider than a quarter inch needs filler
- Potholes or depressions — soft spots that have caved in
- Staining — oil, rust, tire marks, or algae growth
- Surface crumbling — edges or corners breaking off
- Fading or oxidation — dull, gray, or chalky appearance
Take photos as you go. This helps you track progress and decide if you need professional help or can handle it yourself.
If you find deep structural damage, sunken sections, or widespread crumbling, a full replacement may be the smarter long-term investment.
Clean the Driveway Properly
This is the most important step. Everything else depends on it.
A dirty surface won’t hold crack filler, sealant, or resurfacer. Cleaning isn’t optional — it’s the foundation.
Basic cleaning steps:
- Sweep off all loose dirt and debris
- Pre-treat stains with appropriate cleaners (more on that below)
- Apply a concrete or asphalt degreaser to oily areas
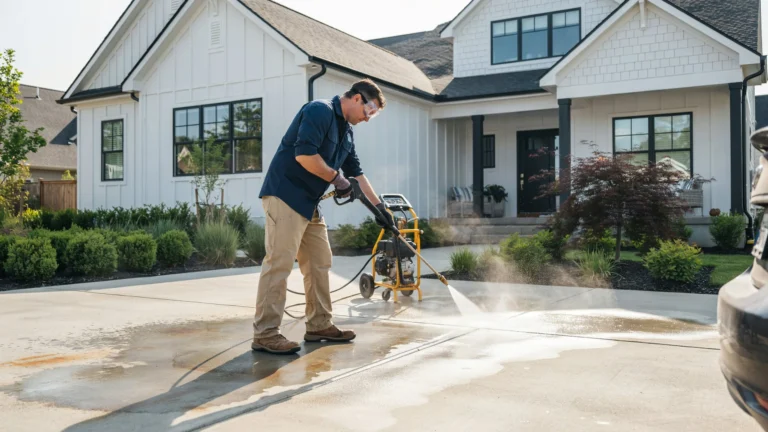
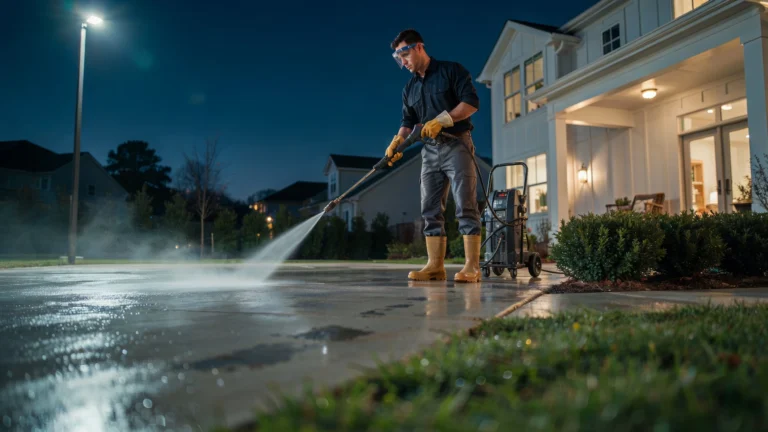
- Pressure wash the entire surface at 2000–3500 PSI
- Let it dry completely — at least 24 hours before any treatment
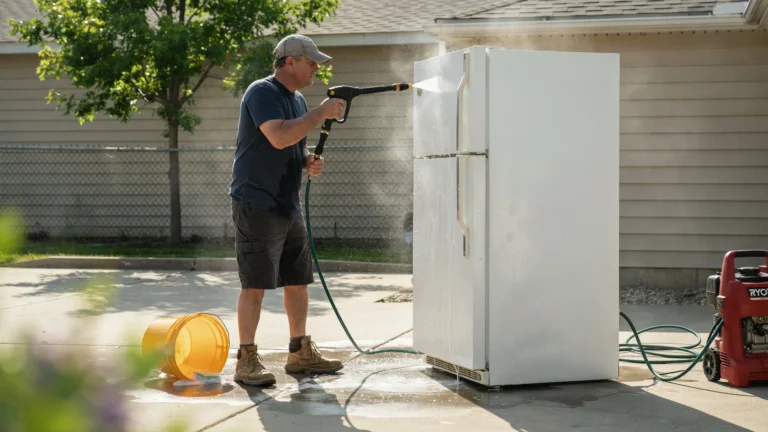
Pressure washing alone transforms how a driveway looks. Years of embedded grime, algae, and surface discoloration come off in one pass with the right equipment.
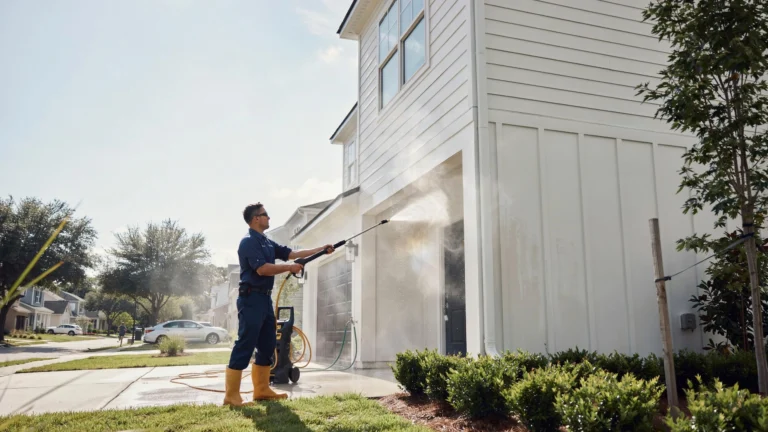
If you don’t own a pressure washer, or your driveway is large and heavily soiled, professional help is worth it. VJ Pressure Washing provides driveway washing Tracy CA that gets the surface truly clean before restoration. Their commercial-grade equipment reaches spots a garden hose never will.
How to Remove Common Driveway Stains
Different stains need different treatments. Using the wrong cleaner wastes your time.
Oil and grease stains Apply a commercial concrete degreaser. Let it sit for 20 minutes. Scrub with a stiff brush, then pressure wash. For old, set-in stains, repeat twice.
Rust stains Use an oxalic acid-based cleaner. Apply, let dwell for 10–15 minutes, scrub, and rinse. Avoid bleach — it sets rust stains deeper.
Tire marks A citrus-based degreaser works well here. Apply, scrub hard, and rinse. Some tire marks need two treatments.
Algae, moss, and mildew A bleach-and-water solution (1:3 ratio) kills organic growth fast. Apply, let sit for 15 minutes, scrub, and rinse well. Keep it off grass and plants.
Efflorescence (white powder on concrete) This is mineral salt coming to the surface. Use a diluted muriatic acid solution carefully, or a commercial efflorescence remover. Always wear gloves and eye protection.
Leaf stains and tannin marks Oxygen bleach (like OxiClean) dissolved in warm water handles these well without harsh chemicals.
Clean all stains before sealing. Sealer locks in whatever is under it including stains.
Repair Cracks and Surface Damage
Once the driveway is clean and dry, fix all cracks before sealing.
For hairline cracks (under 1/4 inch) Use a liquid crack filler or concrete caulk. Pour or squeeze it in, smooth it flat, and let it cure per label instructions. These are easy DIY repairs.
For wider cracks (1/4 to 1/2 inch) Use a polyurethane or epoxy crack filler. These flex with temperature changes, so they hold longer. Clean the crack out with a wire brush first.
For large cracks and potholes Use a vinyl concrete patching compound for concrete. For asphalt, use a cold-patch asphalt repair product. Tamp it down firmly a tamper or even the flat of a shovel works.
For crumbling edges Use a concrete resurfacer mixed slightly thicker to rebuild broken corners and edges. Use a form board to hold the material in shape while it cures.
Let all repairs cure fully before applying sealant. Rushing this step causes peeling and cracking in the repair.
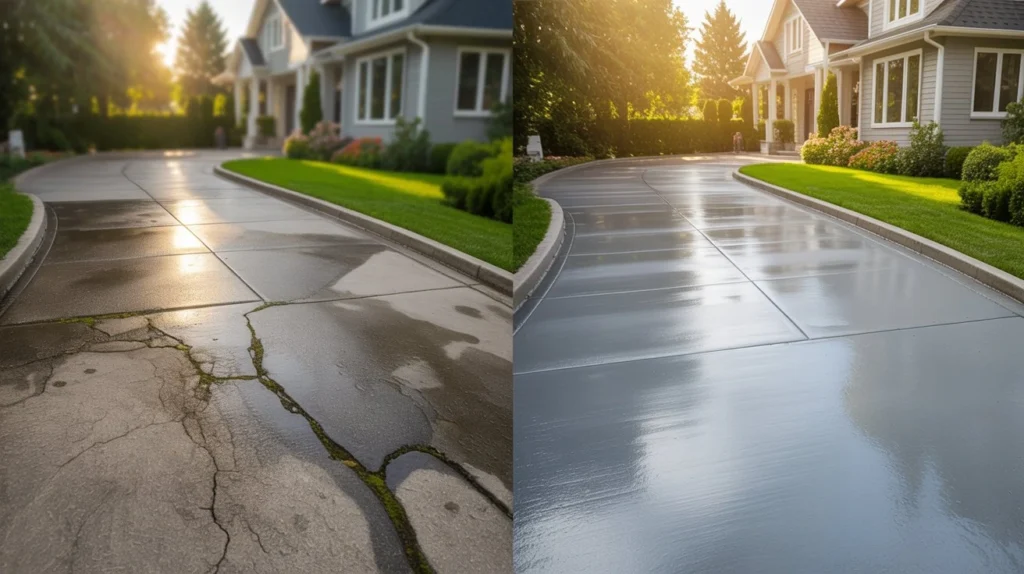
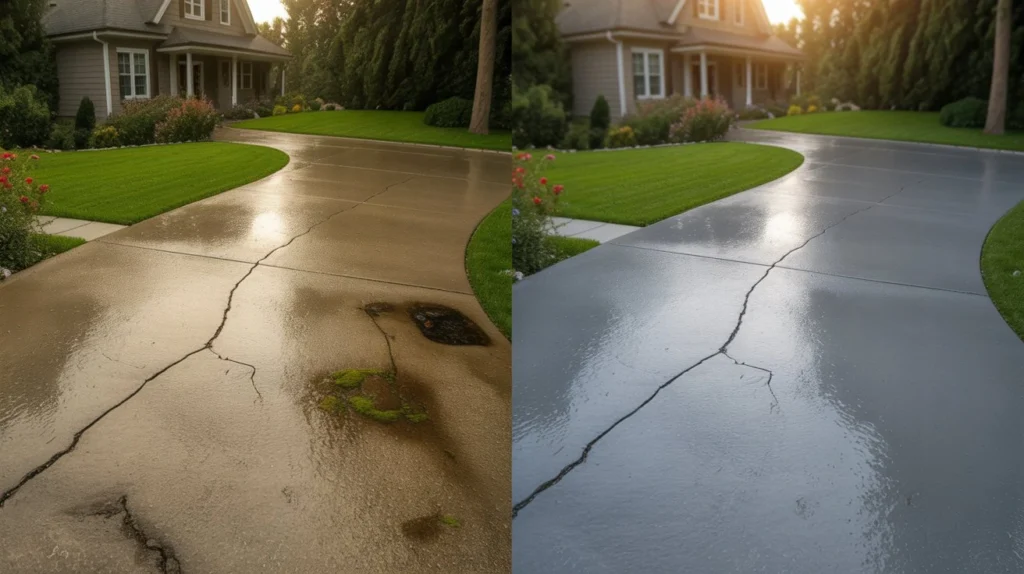
Reseal the Driveway for a Fresh Look
Sealing is what gives a driveway that “just paved” look. It also protects the surface for the next 2–5 years.
For concrete driveways: Use a penetrating silicate sealer for older concrete. For a glossy finish, use an acrylic concrete sealer. Apply with a roller or sprayer in two thin coats.
For asphalt driveways: Use a coal tar or asphalt emulsion sealer. Apply with a squeegee applicator and work in sections. Two thin coats outlast one thick coat every time.
Application tips:
- Work on a dry day above 50°F
- Avoid direct midday sun if possible — it dries the sealer too fast
- Start from the highest point and work down toward the street
- Let the first coat dry 6–8 hours before applying the second
- Stay off the driveway for 24–48 hours after final coat
Sealing is one of the highest-impact steps in driveway restoration. The color deepens, the surface becomes water-resistant, and it looks brand new.
Restore Color and Appearance
Sometimes cleaning and sealing aren’t enough to bring back the original look. That’s when color restoration products help.
For faded asphalt: Asphalt rejuvenators penetrate the surface and restore the flexible oils that UV exposure strips away. They darken the color and reduce surface cracking.
For concrete: Concrete stains and dyes come in dozens of colors. They soak into the surface and create a permanent color change. Great for driveways that have lost their original tone or look uneven.
For stamped or decorative concrete: Use a color hardener or tinted sealer that matches the original finish. This brings out the pattern and restores the vibrant color.
Color restoration pairs well with sealing. Do the color work first, let it cure, then apply sealer on top to lock everything in.
Improve Driveway Curb Appeal
Restoration goes beyond the driveway surface itself. Small changes around it make a big visual difference.
Edge the driveway borders. Clean edges between grass and concrete look sharp. Use a manual or power edger to define the line.
Pressure to wash the apron. The area where your driveway meets the street collects heavy grime. Clean it well it’s what people see first from the road.
Add border lighting. Solar driveway lights along the edges add polish and make the space feel intentional.
Trim surrounding landscaping. Overgrown shrubs and grass creeping onto the driveway distract from a freshly restored surface.
Paint or update the garage door. A clean driveway next to a peeling garage door still looks tired. Refresh the door color to complete the look.
These details take less than a weekend. Combined with a restored driveway, they dramatically improve how your home presents.
DIY Driveway Restoration vs Professional Cleaning
Both approaches work. The right one depends on your situation.
| Factor | DIY | Professional |
| Cost | Low to moderate | Higher upfront |
| Time required | Full weekend+ | A few hours |
| Equipment needed | Pressure washer, roller, brush | Provided by pro |
| Results on heavy stains | Variable | Consistent |
| Best for | Light damage, small areas | Large areas, years of buildup |
DIY makes sense when your driveway has light staining, minor cracks, and just needs a refresh. A weekend of work and a few hundred dollars in materials gets the job done.
Professional cleaning makes sense when the stains are deep, the surface area is large, or you haven’t cleaned it in years. VJ Pressure Washing uses equipment that reaches 4000+ PSI, which removes what consumer rentals can’t.
For many homeowners, the smart move is: hire a professional for the deep clean, then handle the sealing and minor repairs yourself.
How to Keep Your Driveway Looking New Longer
Restoration is only worth it if you maintain it. These habits make the results last.
Seal every 2–3 years. This is the single most important maintenance step. Don’t skip it.
Clean spills quickly. Oil, gasoline, and brake fluid stain fast. Clean them within 24–48 hours before they set.
Avoid metal snow shovels on concrete. They scratch and chip the surface. Use a plastic shovel or a rubber-edged blade.
Don’t use rock salt on concrete. It accelerates surface spalling. Use sand or a calcium chloride-based product instead.
Power wash once a year. Annual washing prevents buildup that’s harder to remove later.
Fix cracks early. A $5 crack filler now beats a $500 repair job later. Small cracks grow fast when water gets in.
Small, consistent effort keeps a driveway looking clean and new for years between full restorations.
Mistakes to Avoid When Restoring a Driveway
These common errors undo good work fast.
Sealing over dirt or stains. The sealer traps everything underneath. Always clean first, seal second.
Applying sealer in cold weather. Below 50°F, sealers don’t bond properly. They peel within weeks.
Using too thick a coat of sealer. Thick coats bubble and peel. Two thin coats always outperform one heavy coat.
Skipping crack repairs before sealing. Cracks continue to grow under sealer. Fill them all first.
Pressure washing at too high a PSI on older concrete. Old concrete can surface-erode at very high pressure. Stay at 2500 PSI or below on worn surfaces.
Not letting repairs cure. Crack filler and patches need full cure time. Rushing the process leads to failed repairs.
Avoiding these mistakes is the difference between a job that lasts five years and one that peels in five months.
Conclusion
How do I make my driveway look new again? Clean it deep, fix every crack, and reseal the surface. That’s the core of it.
The full process takes a weekend for most homeowners. The results last years when you maintain them. A restored driveway doesn’t just look better, it protects your property value and prevents expensive structural repairs down the road.
Start with an inspection, work through each step in order, and don’t rush the cure times. If the job feels too big for DIY, a professional cleaning service handles the hardest parts fast so you can focus on the finishing touches. Contact us at VJ Pressure Washing and we’ll take care of the heavy lifting for you.
FAQs
How do I make my driveway look new again on a tight budget?
Start with a thorough pressure wash and a single coat of sealer. That alone costs under $100 and delivers a dramatic improvement on most driveways.
How often should I reseal my driveway?
Every 2–3 years for asphalt. Every 3–5 years for concrete. In hotter climates with strong UV exposure, lean toward the shorter end.
Can I resurface a concrete driveway instead of replacing it?
Yes. Concrete resurfacer bonds to the old surface and creates a fresh 1/4-inch layer. It works well when the base is structurally sound but the surface is worn.
What’s the best product to restore faded asphalt?
An asphalt rejuvenator followed by a coal tar or asphalt emulsion sealer gives the best results. It restores color and flexibility at the same time.
How long does driveway sealer take to dry?
Most sealers are dry to the touch in 4–6 hours. Full cure for vehicle traffic takes 24–48 hours. Don’t rush this.
Will pressure washing alone make my driveway look new?
For lightly soiled driveways, yes the difference is dramatic. For faded, cracked, or stained surfaces, pressure washing is step one, not the complete solution.
Is it worth restoring an old driveway or should I just replace it?
Restore if the base is structurally sound and damage is surface-level. Replace if there are widespread cracks deeper than 2 inches, significant sinking, or large potholes across more than 25% of the surface.