
Cleaning your home or workplace takes more than a quick wipe down. Real cleaning follows a set process that removes dirt, dust, and germs in the right order. Skip a step, and grime builds up where you cannot see it. Pros use this method every single day.
- What Are the 7 Stages of Cleaning?
- Stage 1: Preparation
- Stage 2: Dry Cleaning or Dust Removal
- Stage 3: Washing or Wet Cleaning
- Stage 4: Rinsing
- Stage 5: Sanitizing or Disinfecting
- Stage 6: Drying
- Stage 7: Inspection and Maintenance
- Benefits of Following the 7 Stages of Cleaning
- Common Cleaning Mistakes to Avoid
- How Often Should You Follow the Complete Cleaning Process?
- Professional Cleaning vs. DIY Cleaning
- Conclusion
- FAQs
So what are the 7 stages of cleaning? They are prep, dust removal, washing, rinsing, sanitizing, drying, and a final check. Each stage builds on the last one to leave your space spotless and safe.
What Are the 7 Stages of Cleaning?
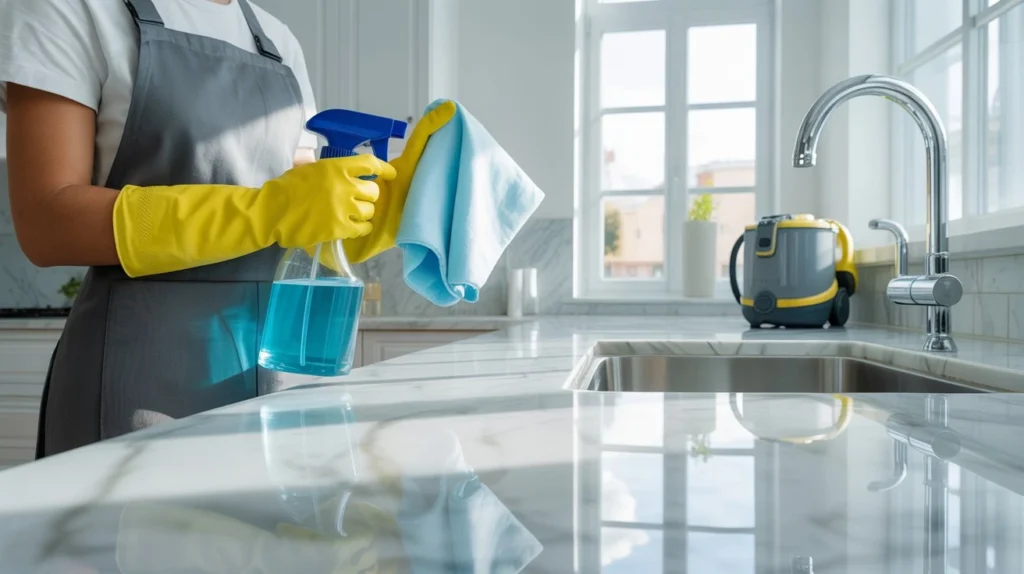
Most people think cleaning means grabbing a rag and spraying some cleaner. That is only part of the picture. A true cleaning routine has a clear order, and each part has a job to do.
This order is often called the 7 step cleaning process. It is used in homes, restaurants, hospitals, and offices because it works every time. When you follow each stage in order, you remove dirt first, then bacteria, then moisture. Skipping ahead causes problems. For example, if you sanitize before you remove loose dirt, the cleaner cannot reach the surface underneath.
Cleaning is the first level of any good hygiene plan, and the stages of cleaning give you a map to follow. You do not need fancy tools to get this right. You need the right steps, done in the right order, every time.
Stage 1: Preparation
Preparation is where everything starts. Before you touch a single cleaner, look at the space. Clear off clutter, move small items, and gather your tools and supplies in one spot.
This stage also means checking what surfaces you are working with. Wood, tile, granite, and fabric all need different products. Using the wrong one can cause damage or leave a dull finish. Read labels before you mix anything.
Good prep also includes safety. Open windows for airflow, put on gloves if needed, and keep kids or pets away from cleaning chemicals. A few extra minutes here saves you time and trouble later.
Stage 2: Dry Cleaning or Dust Removal
Once the space is ready, remove loose dirt and dust first. This step is sometimes skipped, but it matters a lot. If you skip it, you end up smearing dust around with a wet rag instead of removing it.
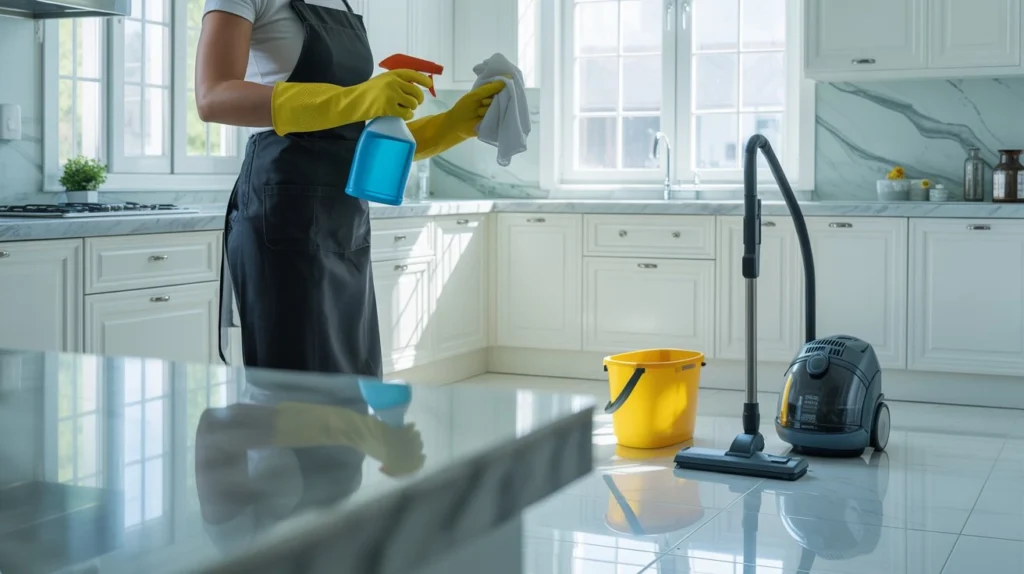
Use a vacuum, dry mop, or microfiber duster for this stage. Work from top to bottom so dust falls onto surfaces you have not cleaned yet, not ones you just finished. Pay attention to corners, vents, and baseboards, since dust collects there fast.
This stage is one of the 4 stages of cleaning that most cleaning checklists highlight, because it sets up every step that follows. A clean dry surface means your wet cleaning tools will actually work better.
Stage 3: Washing or Wet Cleaning
Now it is time to use water and a cleaning solution. This stage breaks down grease, grime, and stuck on dirt that dry methods cannot touch. Choose a cleaner made for the surface you are working on, whether that is glass, tile, or fabric.
Work in small sections instead of trying to clean a whole room at once. Use a clean cloth or sponge, and change your water often so you are not just spreading dirt around. Let the cleaner sit for a minute on tough spots before you scrub. This gives the chemicals time to break down dirt without you needing to scrub hard.
Stage 4: Rinsing
Rinsing removes leftover soap, cleaner, and loosened dirt from the surface. If you skip this step, residue builds up and attracts even more dust over time. It can also leave streaks or a sticky film behind.
Use clean water and a fresh cloth or mop for this stage. On hard floors, change your rinse water at least once per room. For countertops and appliances, wipe the surface twice with clean water to make sure no soap residue is left behind.
Rinsing also matters for health reasons. Some cleaning chemicals can irritate skin or lungs if they are not fully rinsed away, especially in kitchens where food touches these surfaces.
Stage 5: Sanitizing or Disinfecting
This is the stage most people forget, but it is one of the most important. Washing removes dirt, but it does not always kill germs. Sanitizing and disinfecting target bacteria and viruses that you cannot see.
Sanitizers reduce germs to a safe level, while disinfectants kill a higher percentage of germs and viruses. Kitchens, bathrooms, and door handles need this step the most, since these are high touch areas. Always check the label for contact time. Most disinfectants need to sit wet on a surface for several minutes to actually work.
Spraying and wiping right away does not give the product enough time to do its job. Let it sit, then wipe or let it air dry based on the instructions.
Stage 6: Drying
Wet surfaces attract dirt, dust, and bacteria faster than dry ones. That is why drying is its own stage, not just an afterthought. Mold and mildew also grow fast in damp spots, especially in bathrooms and kitchens.
Use a clean towel, air drying, or a fan depending on the surface. Floors should be dried or allowed to air dry fully before foot traffic returns, both to prevent slips and to stop dirt from sticking to a wet surface. For glass and mirrors, a dry microfiber cloth helps avoid streaks.
Drying also protects materials like wood and metal from water damage or rust over time.
Stage 7: Inspection and Maintenance
The last stage is often skipped, but it closes the loop on the entire process. Walk through the space and check your work. Look for spots you missed, streaks, or areas that need a second pass.
This is also the time to check your tools. Rinse out mops, wash cleaning cloths, and store supplies properly so they are ready for next time. Dirty tools spread germs instead of removing them, which defeats the purpose of everything you just did.
Maintenance also means setting a schedule. High traffic areas need attention more often than spaces you rarely use. A quick walkthrough after each cleaning session keeps small problems from turning into big ones.
Benefits of Following the 7 Stages of Cleaning
Following all 7 stages in order gives you results that last longer and protect your health. You remove more dirt, kill more germs, and avoid damage to your surfaces. Random spraying and wiping might look clean for a day, but it does not hold up over time.
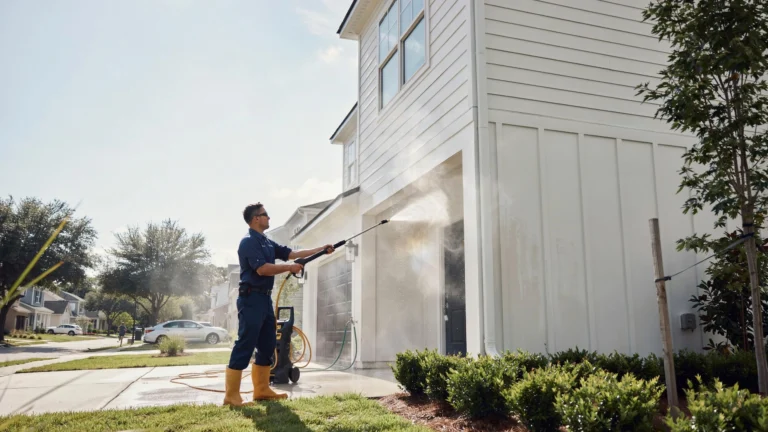
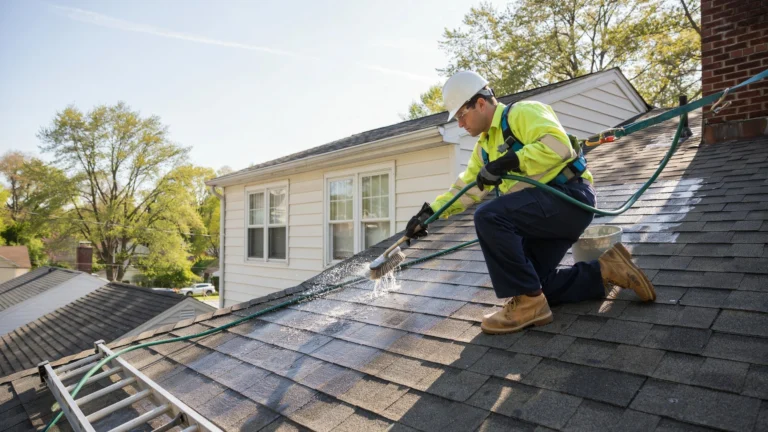
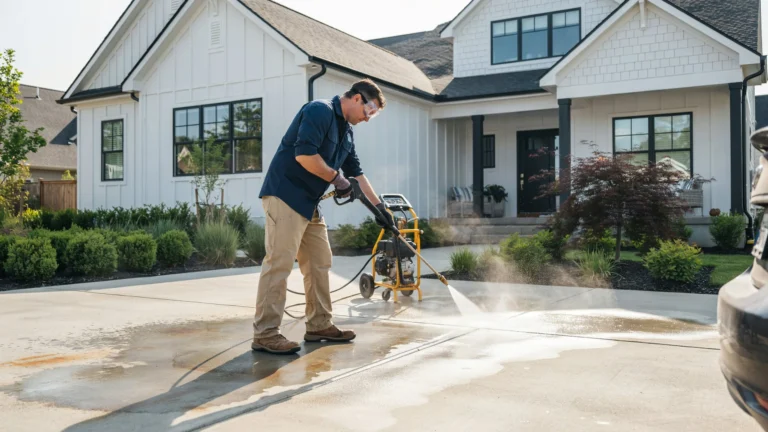
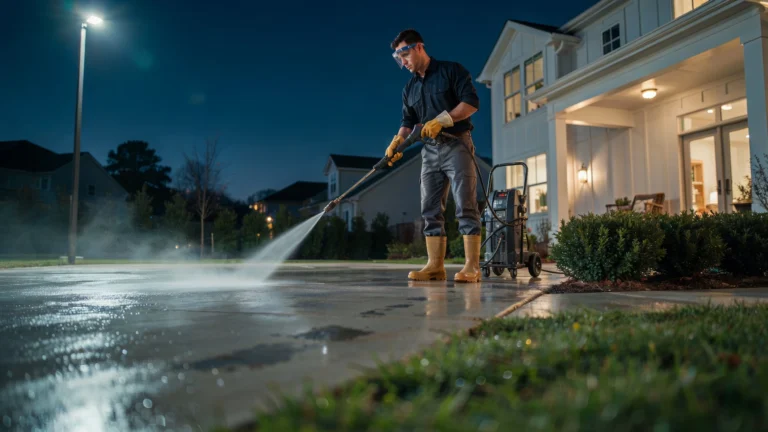
This same order applies outdoors too. Roofs, siding, and driveways collect dirt, algae, and grime that need the same step by step approach to clean safely without causing damage. If your roof has buildup that regular cleaning cannot fix, professional help makes a real difference. VJ Pressure Washing offers roof cleaning services Tracy CA homeowners trust to remove algae, moss, and stains the right way, using a process built on these same proven stages.
Following this process also saves you money over time. Surfaces that are cleaned correctly last longer, which means fewer repairs and replacements down the road.
Common Cleaning Mistakes to Avoid
A few mistakes show up again and again, even with people who clean often. Skipping the dry dust removal step is one of the biggest. Going straight to wet cleaning just smears dust into a paste instead of removing it. Using too much cleaner is another common error. More product does not mean more cleanliness. It often leaves residue that needs extra rinsing. Not letting disinfectants sit long enough is a mistake that hurts the entire sanitizing stage. Wiping it off too fast means germs are not actually killed.
Reusing dirty cleaning tools spreads bacteria from one surface to another. Always rinse or replace cloths and mop heads between uses. Rushing through the final inspection means small problems get missed until they grow bigger and harder to fix.
How Often Should You Follow the Complete Cleaning Process?
Not every space needs all 7 stages every single day. Kitchens and bathrooms need the full process most often, since they deal with food, moisture, and high traffic. Aim for deep cleaning these spaces at least once a week. Living rooms, bedrooms, and offices can often go longer between full cleanings, maybe every two weeks, with light dusting and tidying in between. High touch surfaces like doorknobs and light switches benefit from sanitizing more often, even daily in busy households.
Outdoor surfaces like roofs and siding usually need a full cleaning once or twice a year, depending on your climate and how much buildup collects.
Professional Cleaning vs. DIY Cleaning
DIY cleaning works well for regular upkeep and small spaces. You control the schedule, the products, and the cost. For most daily and weekly cleaning, this is the right choice.
Professional cleaning makes more sense for larger jobs, tough stains, or specialized surfaces like roofs and exterior siding. VJ Pressure Washing brings the right equipment, proven cleaning methods, and hands-on experience to handle problems that regular cleaning cannot fix. Our team also knows which products are safe for different materials, helping protect your property while delivering long-lasting results.
A mix of both often works best. Handle daily and weekly tasks yourself, and bring in professionals for deep cleaning or jobs that need special tools and training.
Conclusion
Now you know the full answer to what are the 7 stages of cleaning. Each stage, from prep to inspection, plays its own role in getting a space truly clean and safe. Skipping steps might save time now, but it costs you more later in repairs, health risks, or wasted effort.
Stick to the full process, and your home or workspace will stay cleaner for longer. Whether you handle it yourself or trust the professionals at VJ Pressure Washing, following these stages of cleaning delivers results you can count on. Contact us today to schedule a professional cleaning service and keep your property looking its best year-round.
FAQs
What are the 7 stages of cleaning in order?
The 7 stages are preparation, dry cleaning or dust removal, washing, rinsing, sanitizing, drying, and inspection. Each stage should happen in this order for the best results.
What is the difference between cleaning and sanitizing?
Cleaning removes dirt and debris from the surface. Sanitizing reduces germs and bacteria to a safe level, but it does not always remove visible dirt the way cleaning does.
What are the 4 stages of cleaning most people focus on?
Many checklists shorten the process to dust removal, washing, rinsing, and drying, since these are the core physical steps. The full 7 stage process adds prep, sanitizing, and inspection for complete results.
How long should disinfectant sit before wiping it off?
Most disinfectants need to stay wet on a surface for several minutes. Check the product label for the exact contact time needed to kill germs.
Do I need to follow all 7 stages every time I clean?
Not always. Quick daily tidying may only need a few stages. Deep cleaning, especially in kitchens and bathrooms, benefits from the full 7 step cleaning process.